AAC Cruiserweight M4 (Savage)
Game8.jp has gone along with Nukemaru’s strat. Explanation has been split into two parts, even though this is a single encounter with no checkpoint.
Nukemaru has also split his guide into two parts:
First half:
(English subtitled)
Second half:
(English subtitled)
Things to check on Party Finder
- Check the strat being used for “Beckon Moonlight” in P1
English
【Stonefang】  |【Windfang/Millenial Decay】
    MTD4   | MT/D3  H2/D4
 D3   H2   |      ★
 H1   D2   |  H1/D1   ST /D2
    D1 ST   | ※ Rotate CW if needed
【Millenial Decay (while rotating)】
 Melee AoE:Front Ranged AoE:N/S
 Nothing:Back
【Eminent Reign】|【Revolutionary Reign】
  MT  ST   |     ★
    ★       |   MT    ST
 LP1    LP2    |   LP1 LP2
【Terrestrial Rage】   |【Beckon Moonlight】
① Windfang, stack mid|MT/D3   (Stack)   H2/D4
② Beckon Moonlight |  H1/D1 ST/D2
【Quake III】W:MTH1D1D3 E:STH2D2D4
【Ultraviolent Ray】※ Markers:N > stay > S
 (NW) MT D3 D1 H1 (S) H2 D2 D4 ST (NE)
【Elemental Purge】
     Party   ※ Party beside marked tank
 MT ★ ST   ※ Unmarked tank Provokes
【Twofold Tempest】
    D1D3 D2D4 ※ Tether: start T/H → CW/CCW
  MTH1   STH2  ※ Beam: 2 away from tether
【Lone Wolf's Lament (Alice strat)】
 Start:   Tanks:(Green) → NE (Blue) → W
   T 〇  DPS (Green):N tether → NE
 〇 ★ D          S tether → S
   H   DPS (Blue):N tether → Stay
【Howling Eight】8 → MT → ST → MT+ST → 8
Japanese
【土の魔技】  |【風の魔技/千年の風化 IQ6000式】
   MTD4  | MT/D3  H2/D4
 D3   H2 |     ★     ※塔ズレ時計
 H1   D2 | H1/D1   ST /D2
   D1 ST  | (回転中)前:近接 南北:遠隔 後:無職
【薙の群狼剣】  【廻の群狼剣】
MT     ST |    ★
    ★      | MT         ST
H1組     H2組 |   H1組 H2組
【大地の怒り】
①風化散開 ⇒ 安置時計回り (頭割り)中央
②風化散開 ⇒ ズレ時計回り (頭割り)北
【幻狼招来】
MT/D3  (頭割り)  H2/D4
   H1/D1 ST/D2
【クエイガ/1-3魔光】青マカ上から北島⇒その場⇒南島
MT     ★    ST
D3         D4 【双牙撃】西島:MT 東島:ST
 D1        D2 【風震の魔印(正規処理)】
  H1    南島  H2  頭割り:風撃タンク隣島
【風狼陣/双牙暴風撃】        線    誘導
 D1D3    D2D4  MT先↓ MTH1 D2D4
                D1D3  ST H2
MT H1   ★   ST H2       D2D4  MTH1
     南島        ST先↑ ST H2  D1D3
【孤狼の呪い Alice式】
  T 島     Tニア  :北東 Tファー:西 H:不動
 島 ★ D   Dニア :線が北伸び⇒北東 南伸び⇒南
   H     Dファー :線が北伸び⇒不動 南伸び⇒北東
【八連光弾】2:MT無敵 3:ST無敵 4:T二人フルバフ
Markers
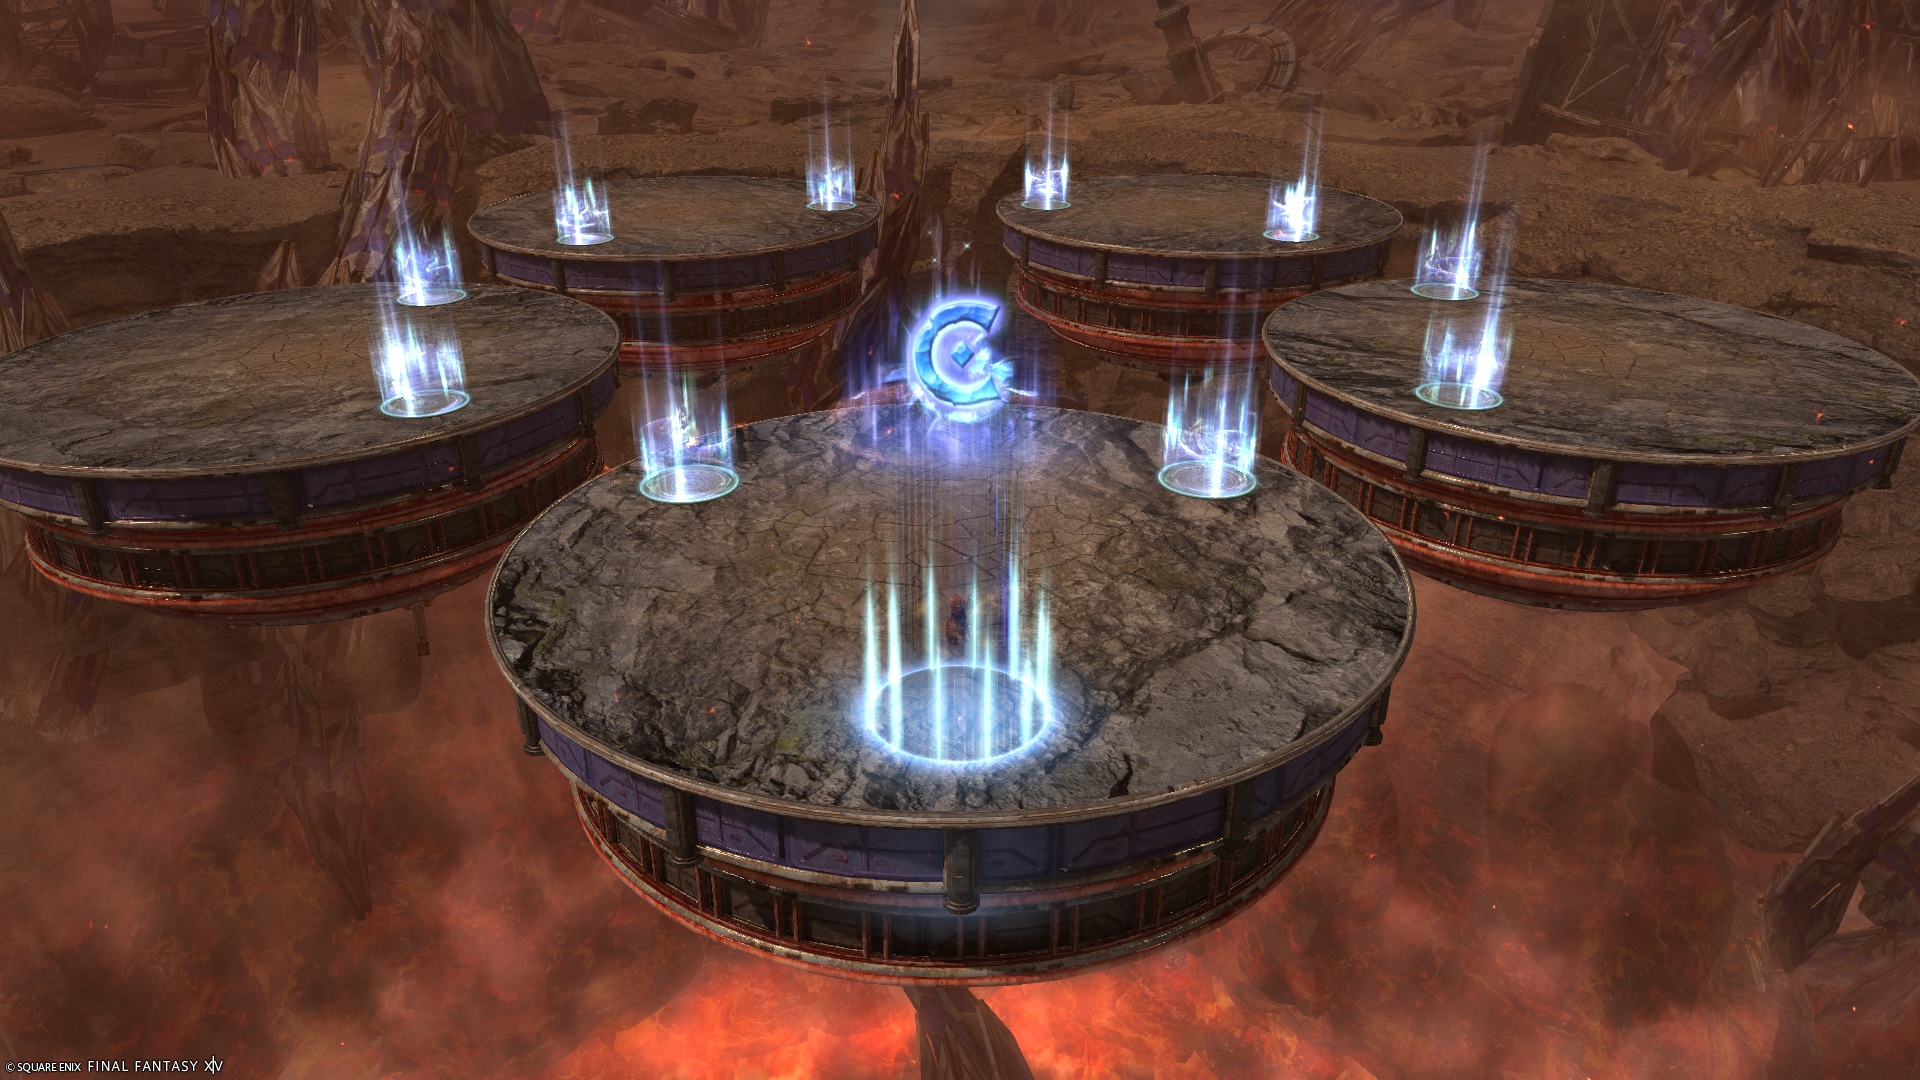
The C marker denotes the True South platform in P2. This marker can only be manually placed once the encounter has been cleared.
If you haven’t cleared the fight, you will need to copy the markers from someone else.

XIVLauncher WaymarkPresetPlugin positions
{
  "Name":"M8S",
  "MapID":1026,
  "A":{"X":100.0,"Y":0.0,"Z":89.2,"ID":0,"Active":true},
  "B":{"X":110.8,"Y":0.0,"Z":100.0,"ID":1,"Active":true},
  "C":{"X":100.0,"Y":-150.0,"Z":117.5,"ID":2,"Active":true},
  "D":{"X":89.2,"Y":0.0,"Z":100.0,"ID":3,"Active":true},
  "One":{"X":92.363,"Y":0.0,"Z":92.363,"ID":4,"Active":true},
  "Two":{"X":107.637,"Y":0.0,"Z":92.363,"ID":5,"Active":true},
  "Three":{"X":107.637,"Y":0.0,"Z":107.637,"ID":6,"Active":true},
  "Four":{"X":92.363,"Y":0.0,"Z":107.637,"ID":7,"Active":true}
}
Beckon Moonlight
There are currently 2 popular strats circulating in PF; the default used by Game8 (and by extension, Nukemaru), and “1 Quad strat”.
1 Quad strat
【Beckon Moonlight (1 Quad)】
  MT/D1 ST/D2
H1/D3 (Stack) H2/D4
Refer to this raidplan.
Timeline

Mechanic Names
(In order of appearance)
| English | Japanese | Romaji |
|---|---|---|
| Extraplanar Pursuit | 空間斬り | kuukan giri |
| Stonefang | 土の魔技 | tsuchi no magi |
| Windfang | 風の魔技 | kaze no magi |
| Eminent Reign | 薙の群狼剣 | nagi no gunrouken |
| Revolutionary Reign | 廻の群狼剣 | kai no gunrouken |
| Millenial Decay | 千年の風化 | sennen no fuuka |
| Tracking Tremors | 連震撃 | renshingeki |
| Great Divide | 一刀両断 | ittou ryoudan |
| Terrestrial Titans | 大地の呼び声 | daichi no yobigoe |
| Titanic Pursuit | 斬空剣 | zankuuken |
| Tactical Pack | 光狼招来 | kourou shourai |
| Pack Predation | 光狼陣 | kouroujin |
| Ravenous Saber | 風塵光狼斬 | fuujin kourousan |
| Terrestrial Rage | 大地の怒り | daichi no ikari |
| Beckon Moonlight | 幻狼招来 | genrou shourai |
| Weal of Stone | 地烈波 | chiretsuha |
| Extraplanar Feast (enrage) | 空間斬り・滅 | kuukan giri metsu |
| Quake III | クエイガ | kueiga |
| Ultraviolent Ray | 魔光 | makou |
| Twinbite | 双牙撃 | sougageki |
| Hero's Blow | 鎧袖一触 | gaishuu isshoku |
| Mooncleaver | 剛刃一閃 | goujin issen |
| Elemental Purge | 風震の魔印 | fuushin no main |
| Prowling Gale | 風狼陣 | fuuroujin |
| Rise of the Howling Wind | 魔狼戦型・天嵐の相 | marou senkei tenran no sou |
| Twofold Tempest | 双牙暴風撃 | souga boufuugeki |
| Bare Fangs | 光牙招来 | kouga shourai |
| Champion's Circuit | 廻天動地 | kaiten douchi |
| Rise of the Hunter's Blade | 魔狼戦型・呪刃の相 | marou senkei jujin no sou |
| Lone Wolf's Lament | 孤狼の呪い | kourou no noroi |
| Howling Eight | 八連光弾 | hachiren koudan |
| Starcleaver | 剛刃一閃・終 | goujin issen shuu |
Frequently Asked Questions
[Revolutionary Reign] How do I tell where the boundary of the final AoE is?
| Use the previous set of four small AoEs (when the boss first dashes) as a guide. In particular, pay attention to the AoEs on the sides of where the boss will dash- the final AoE's range reaches roughly the same limits as the small AoEs. |
 |