AAC Heavyweight M2 (Savage)
Game8 has chosen to go along with Inumaru’s strategy as a base, with some minor changes.
The following video goes over Inumaru’s strategy with PF modifications applied:
(English subtitled)
English
ー ■ Flame Floater #1 ーーーーーーーーーーーーー
 Facing the edge, draw a mirrored "Z"
ー ■ Basic Spread ー ■ Sickest Take-off ーーーー
  D3 MT D4  │      ★
  H1 ★ H2    │  D3MT  STD4
  D1 ST D2    │  H1D1  D2H2
ー ■ Insane Air ーーーーーーーーーーーーーーーーー
 Blue: MT-group  Red: ST-group
 Fan baits (facing mid):R > H > T > M
ー ■ Watersnaking + Firesnaking ーーーーーーーー
 MT-group under Blue, ST-group under Red
 ■ Blue-group  |■ Red-group
 【Alley-oop】  |【1st puddles】
     T M    |      ★   ※ Along
  H  ★  R   | H M T R  East wall
 ※ TMR to corner  |【2nd puddles】
 【Deep Varial】 | (mid) T M H R (corner)
   R T       |【Hot Aerial】
  H M ★    | NE:T > R SE:H > M
ー ■ Deep Aerial ーーーーーーーーーーーーーーーー
 H1H2 → tower
 Red:Stretch to A or C (hit the Watery Grave)
 Blue:Stretch along the side with the boss
ー ■ Split Arena ー ■ Xtreme Water/Firesnaking
 D3  :  D4|※ Swap before mechanic
 MT  :  ST | - Tankbuster → Tanks swap
     ★   | - Stacks → Healers swap
 D1  :  D2| - 1st spread → Melees swap
 H1  :  H2| - 2nd spread → Ranged swap
ー ■ Alley-oop combo ーーーーーーーーーーーーー
 Basic Spread (True N) → Rotate CW if needed
 Tankbuster:Tank with Deep Blue
 Stack: Under Deep Blue → move through mid
Japanese
【基本散開】 【波乗り散開/4人割】
 D3MTD4 │     ★
 H1 ★ H2 │ D3MT  STD4
 D1 ST D2 │ H1D1  D2H2
【フレイムフローター1回目】
ボス見て右上、左上交互に逆Z字
【インセインエアー】青MT組 赤ST組
扇誘導:中央見て 左>遠D H T 近D>右
【スネーキング1回目】
※MT組青ボス下、ST組赤ボス下
青アリウープ  |赤沼捨て1回目|ハイドロバリエル
※狭い方に3人 |   ★     |赤デバフ→赤沼有り半面
     T 近D| H 近 T 遠|中央> T 近D H 遠D >端
 H  ★ 遠D|         |青デバフ→赤沼無し半面
炎エアリアル: 赤沼側北側から交互 T→H→遠隔→近接
【水牢】 H1H2塔入り
赤:A or C方向へ伸ばす→往復
青:出現位置から縦方向へ伸ばす→往復
【分断フェーズ】MT組西:ST組東
D3  :  D4
MT  :  ST
   赤★
D1  :  D2
H1  :  H2
【スネーキング2回目】
交代順 散会:1回目近接、2回目遠隔
    頭割り:H T強:T
【青+赤アリウープ】
マップ基準、基本散開方向の外周で時計回り
強攻撃:青タゲ持ちが離れる 頭割り:青直下から中央へ
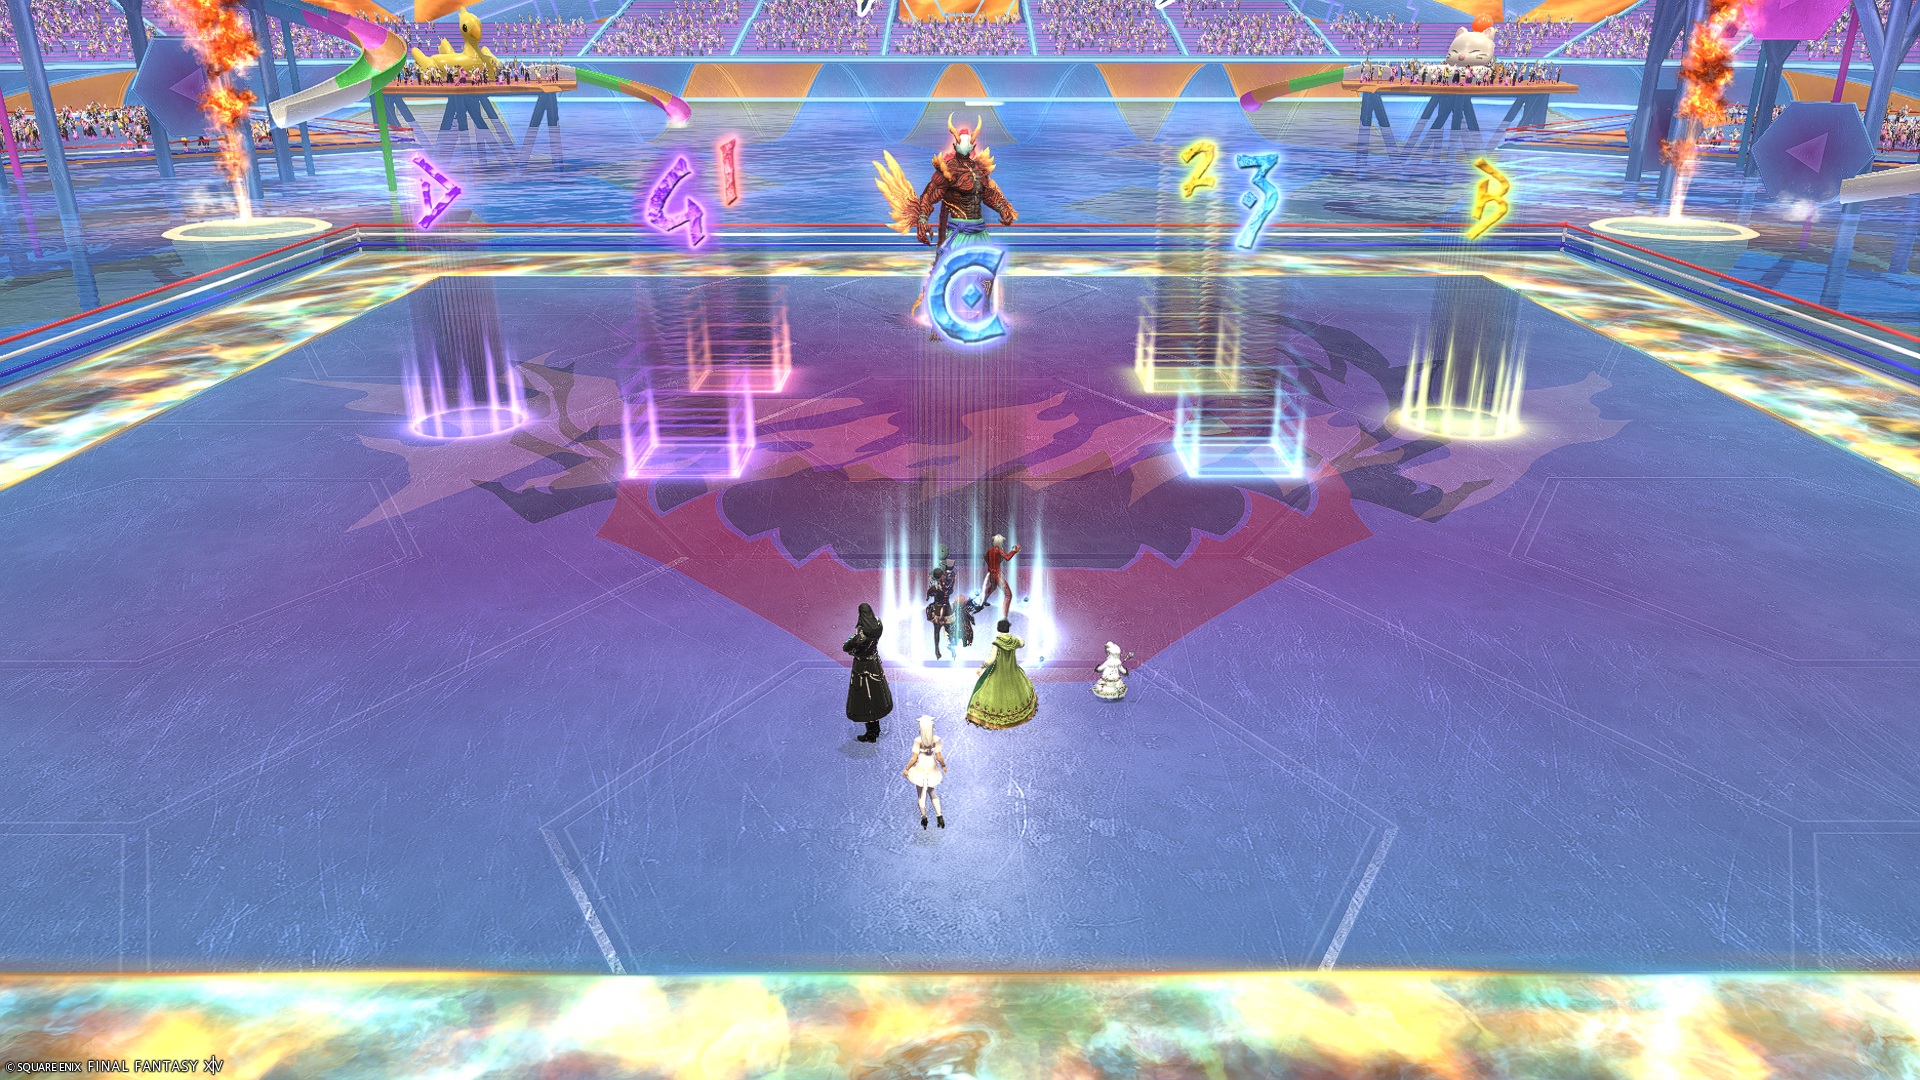
Markers
The markers are used for orientation.
AandCare particularly used for orientation for the fire tethers during Deep Aerial.- The
1234markers are where the tank + melee further away from Deep Blue stands when baiting Deep Blue’s Alley-oop Double-dip or Reverse Alley-oop during the split arena phase.
XIVLauncher WaymarkPresetPlugin positions
{
  "Name":"M10S",
  "MapID":1071,
  "A":{"X":100.0,"Y":0.0,"Z":87.0,"ID":0,"Active":true},
  "B":{"X":113.0,"Y":0.0,"Z":100.0,"ID":1,"Active":true},
  "C":{"X":100.0,"Y":0.0,"Z":113.0,"ID":2,"Active":true},
  "D":{"X":87.0,"Y":0.0,"Z":100.0,"ID":3,"Active":true},
  "One":{"X":95.0,"Y":0.0,"Z":96.0,"ID":4,"Active":true},
  "Two":{"X":105.0,"Y":0.0,"Z":96.0,"ID":5,"Active":true},
  "Three":{"X":105.0,"Y":0.0,"Z":104.0,"ID":6,"Active":true},
  "Four":{"X":95.0,"Y":0.0,"Z":104.0,"ID":7,"Active":true}
}
Timeline
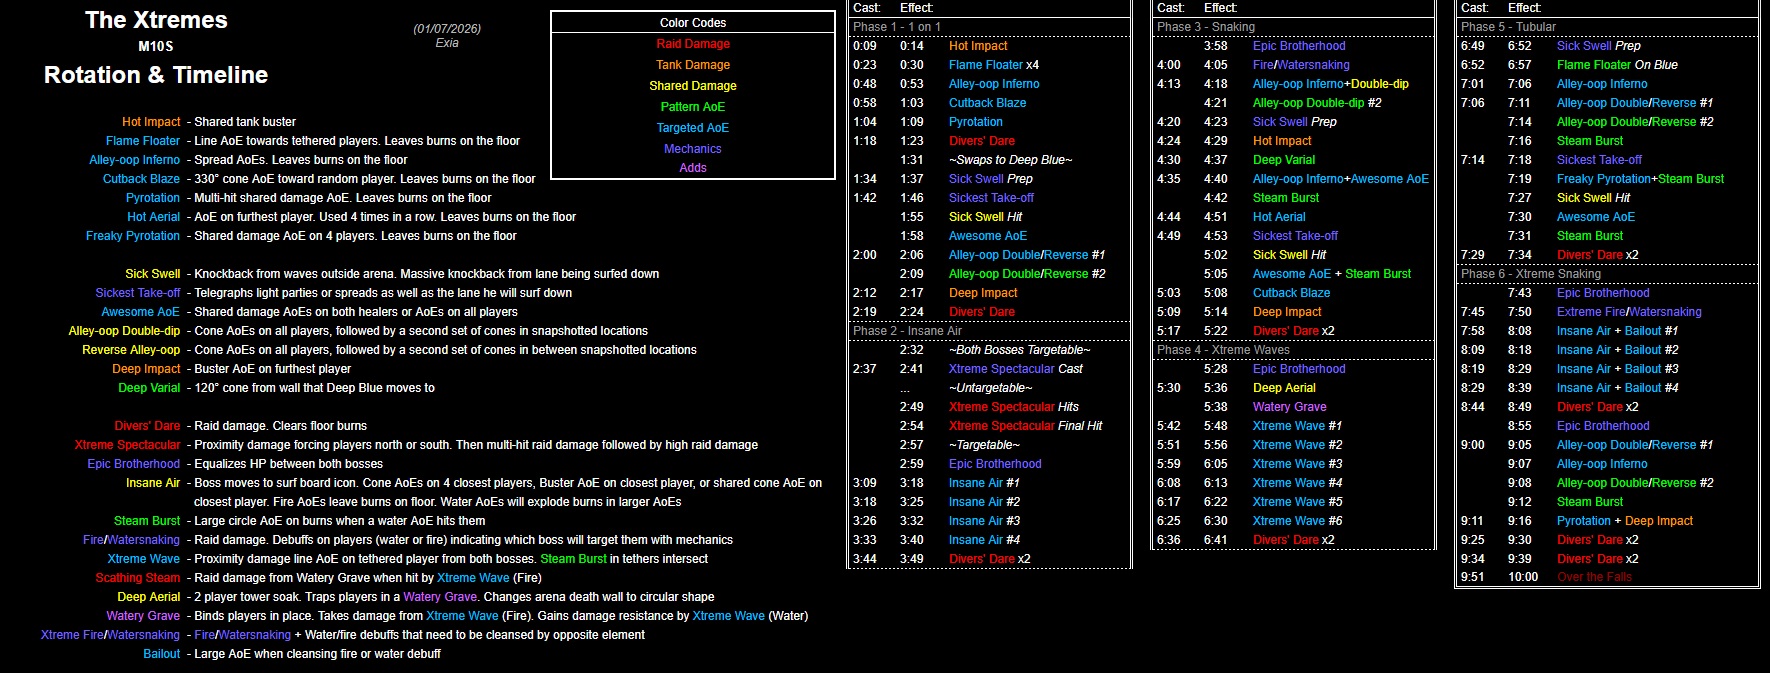 (Credit: u/ExiaKuromonji)